Want some inspiration? Here you will find a lot of information and tips for further processing and finishing your unique piece.
FINISHING
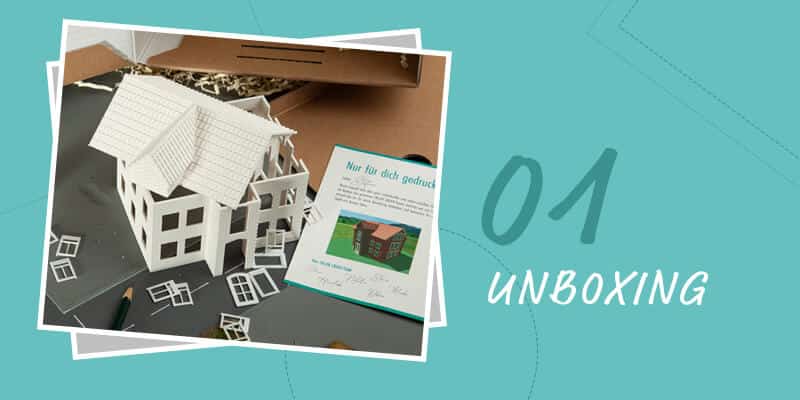
When you hold your building in your hands for the first time, you should first check the different parts for completeness and quality. It is usually helpful to deburr all parts first, then to make the changes you are still missing to obtain the perfect model. To do this, use a modeller’s knife, a sandpaper file and, if necessary, a glass fibre eraser. Or maybe the result of your design is such that you want to assemble some parts or reinforce the building with strengthening pieces prior to any further treatment.
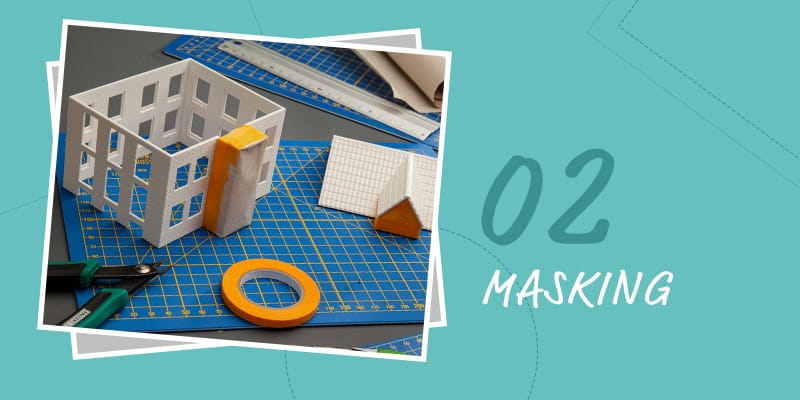
Make a plan showing in which order you are going to colour the parts. Light colours are easy to cover with dark ones. Thus, paint dark-coloured parts last. Before applying any colour on the building – no matter whether you will be using the airbrush pistol or the paintbrush – you should arrange all paints in front of you in the right order, and meticulously mask with adhesive tape the parts that are not supposed to receive any paint. To this end, use FALLER model making adhesive tape and common paper. It’s all right if you take some more time for that operation. Colour defects or paints seeping under adhesive tape are difficult to correct afterwards, and are above all a bother!
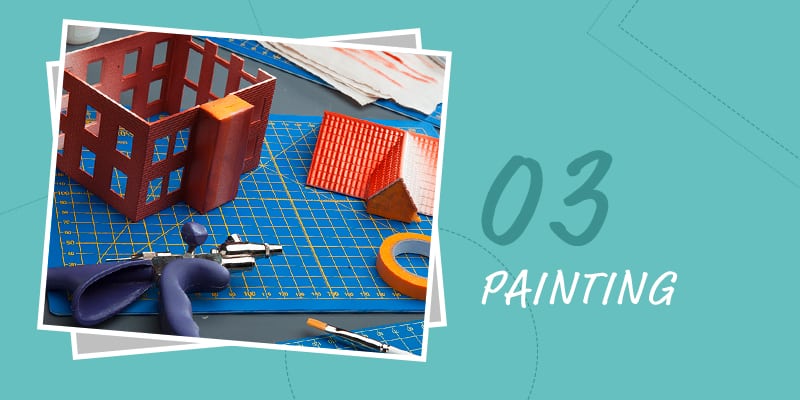
You are fully free when choosing the colours. Whether you want to paint with airbrush, spray gun or paintbrush, you are at liberty to do as you please – only the result will count. Merely make sure that the paints are suited to the respective process. We recommend using paints from the collections “Model Air” (for airbrush) and “Model Color” (for paintbrush) proposed by manufacturer VALLEJO, as these paints are particularly easy to process and yield a natural dull finish. Do not immediately tackle the outside facades of your model at full power. Use the interior sides as training and test surface if you are still inexperienced in handling the airbrush pistol. On that occasion it is best to immediately black the interior sides of the building. You will thus obtain the best results with opaque masking, in particular if you also install illumination within the model later on.
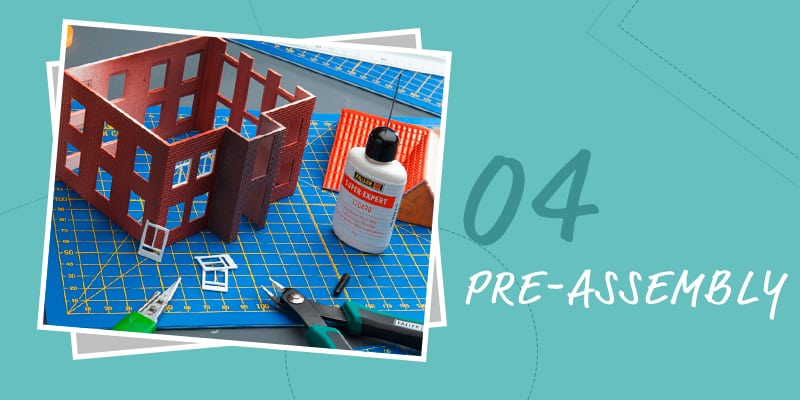
Once each part has got its own individual colour, the first parts can be pre-assembled. To obtain durable fastening of parts it is advisable to slightly scrape the paint off in the glueing areas. It’s quite easy when using a modeller’s knife. Apply a plastic sheet behind the windows. This comes the closest to real glazing. To this end, use overhead transparent foil or get via FALLER’s customer service department original window plastic sheet, which is available in many standard formats. Now, you should install the windows and all other decoration parts that will be of difficult access later. Particularly tiny things are best kept for later. You will thus avoid the risk of breaking them. To fix all parts use a plastic adhesive, e.g. FALLER Super-Expert, plastic cement. Use the adhesive very sparingly. Here it’s surely safe to say: “Less is more!” On painted surfaces excess adhesive just cannot be removed without considerable difficulties. Thus, it is best to place a small amount of adhesive on your cutting mat or modeller’s mat, and pick it up from there with the point of the modeller’s knife. This way, you will ensure that you have in any case the right tiny bit of adhesive.
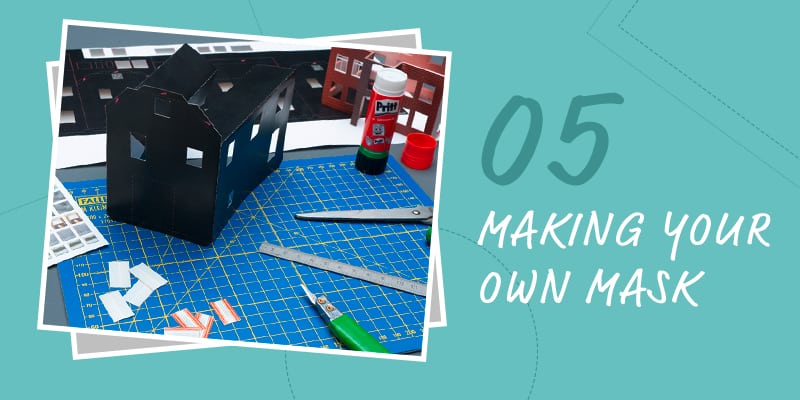
Do not forget the lighting! Now, it’s the right moment to install a mask around the building. On your installation you don’t want light to seep through every edge or slit of a building, after all. Here you have to decide on a method. Maybe you have blacked the interior sides of the building already, by means of paints. Then, it will probably be sufficient to obturate the corners and to stick some curtains behind the window foils. In our download area you will find a large number of curtains – so many that there will certainly be something to your taste! In case the building is not perfectly light‑tight yet, you can cover that with black tinted paper or aluminium foil. Such decision has to be made depending simply on whether the entire house or only some particular rooms have to be lit. Light fittings are available for every purpose, from the simple lighting cap to the minilights or a house light control unit.
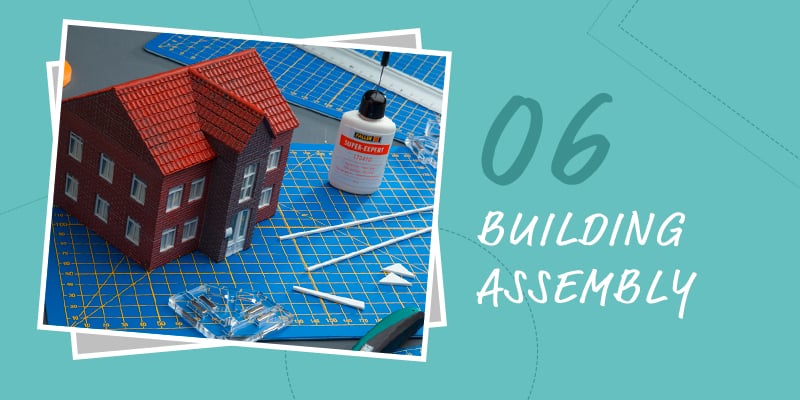
Now, the larger parts are to be assembled. Here not everything must be glued so as to hold to all eternity. For certain parts that e.g. will have to be separated again during an ulterior change of light fittings, a permanent elasticity glue such as e.g. Uhu POR is suitable. Still leave aside the most filigree parts. It would a pity if something got lost now, wouldn’t it? In some place or other you should perhaps provide some reinforcements yet. To do this, you can apply filler using OVALIT S – available in every DIY store – or use ready-made polystyrene elements. Have a look at EVERGREEN, a manufacturer of the most varied profiles and panels for modelling projects. Both procedures are perfectly suitable for stabilizing any models.
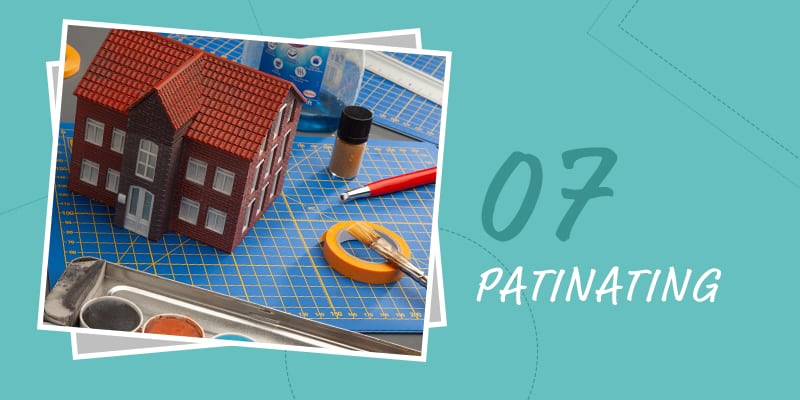
Now, the challenge is “Making superb”. No matter whether you prefer to work with airbrush, paintbrush or powder pigments – that procedure will impart charm and life to your building.
For the start the simplest way is to highly dilute water colours, and let such liquid flow over the walls. With one drop of dish washing liquid that will reduce the surface tension of water, the result will be still better. Grey slits, moss on the plinth or dirt on the lower roof surface – simply keep your eyes open. Right on the doorstep of your house you will see plenty of examples and suggestions.
Please be careful if you are working with powder pigments for the first time. You had better paint the same area ten times and thus slowly come nearer the final effect than apply a single coat with too much colour. It would look unnatural and is very difficult to remove.
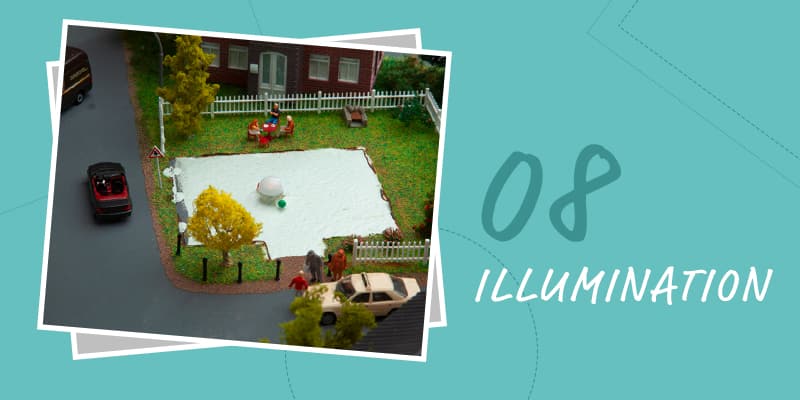
Let there be light! Modern building structures produce a much nobler impression if you design a bespoke lighting system for them. An old blacksmith’s shop, too, will be full of life as soon as there is a flickering fire in the forge. You now have to make the decision whether you simply want an illuminated house or might be able to breathe some more new life into you diorama, e.g. by granting the facade some up- & down-lights, or by decorating the stylish garden party at the rear of the house with a light festoon. Thus, think of the power supply and use e.g. for the passage of the wires a straw that you will introduce into the building from below. In case you do not use any LEDs it is imperative that you ensure sufficient ventilation so as to carry the heat off without any difficulty, e.g. through an opening on the underside of the model or through a ghost joint.
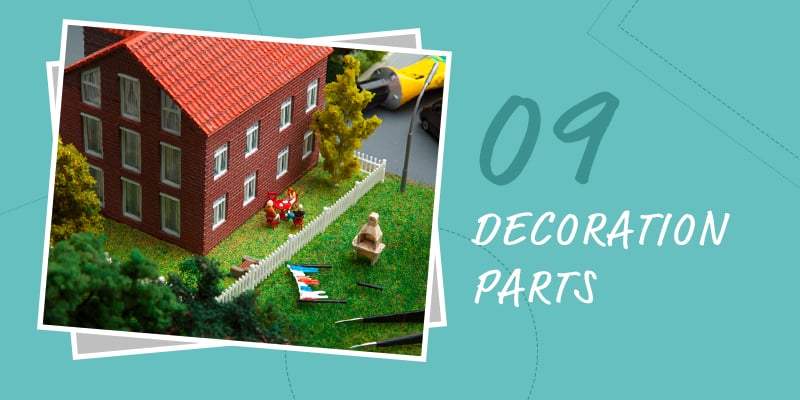
Now turn your attention to the small parts and install railings, a letterbox or the parabolic antenna. Small plates may now be affixed, too, e.g. plates on hydrants or signs which point out the presence of a biting occupant. Larger filigree decorations parts such as an awning may now be installed, too. Take your time. During such procedure you will generally get the nicest little ideas, so that the result will become ever more natural.
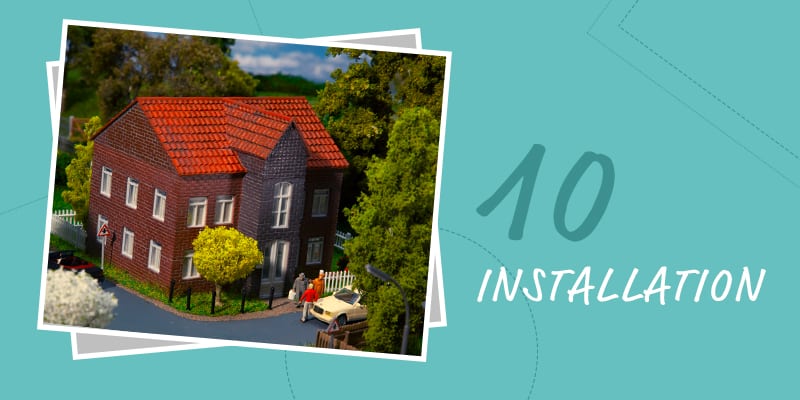
Roofing ceremony! Your house is finished, all craftsman’s tasks are completed. The mason, the carpenter, the joiner, the window maker, the glazier, the electrician and the plumber – all have finished their work. Now, only your skill as landscape gardener is still missing to give your house the perfect setting. To a modeller like you this is a mere child’s play! You are probably acquainted with the suitable materials used for model layout construction from the landscaping work you did for your model railway already. You will find inspirations and everything you require round the clock in the online shop on www.faller.de.
DOWNLOAD
Here you will find color charts and curtain masks for the completion of your very individual model.